

 English
 Deutsch
 简体中文

Author: FTM
Date: Oct 20, 2026
How Are Molds Made for Injection Molding? A Complete Step-by-Step Guide
Injection molding is one of the most widely used manufacturing processes for plastic parts, and at the heart of every molded component is a carefully engineered tool: the injection mold. Molds shape everything from automotive interior pieces and medical device housings to everyday household products. But how are molds made for injection molding? The answer involves a complex sequence of design, machining, and finishing steps that demand precision at every stage.
A well-built mold can last for hundreds of thousands of cycles, producing identical parts again and again. A poorly designed one, by contrast, can fail within weeks and bring an entire production line to a halt. That is why every step deserves close attention.
Over the years, we have worked alongside manufacturing teams producing precision metal components for a wide range of industries, and we have seen firsthand how much craftsmanship goes into building tools that must hold tight tolerances across tens of thousands of production cycles. This guide walks through the complete mold-making process in plain terms.
Step 1: Designing the Mold
Everything starts with a detailed part design. Engineers use computer-aided design (CAD) software to model the mold in three dimensions, accounting for every wall thickness, rib, boss, and gate location. The design must also include a runner system to guide the molten plastic into the cavity, cooling channels to control the temperature of the tool, and an ejection system to push the finished part out.
Designing a mold requires careful attention to plastic flow behavior. Simulation tools predict how the material will fill the cavity, where potential weld lines might form, and whether the part will shrink uniformly during cooling. Cooling channel placement is especially important, since uneven cooling leads to warpage and internal stress in the molded part. Engineers also plan for proper venting so that trapped air can escape as the plastic enters. No steel is cut until the engineering team is confident that the design will produce consistent parts.
Step 2: Selecting the Right Mold Material
The choice of steel plays a major role in mold performance and longevity. Common mold steels include P20, H13, S7, and 420 stainless steel, each with different properties suited to particular applications. The table below summarizes the most widely used grades.
| Grade | Typical Applications | Key Properties |
|---|---|---|
| P20 | Prototype and low-volume production | Pre-hardened, easy to machine |
| H13 | High-volume production, hot-runner molds | Excellent heat resistance, tough |
| S7 | Heavy impact and shock-load molds | Shock-resistant, durable |
| 420 Stainless | Corrosive plastic compounds | Corrosion-resistant, polishable |
Selecting the right grade depends on production volume, the type of plastic being processed, and the surface finish required. Experienced mold engineers rely on proven data from similar projects rather than theoretical values alone. Heat treatment planning also begins at this stage, because the steel must be hardened to withstand the pressures and temperatures of injection molding. Manufacturers with hands-on experience in alloy steel processing can offer valuable guidance in these choices.
 Alloy Steel Machining Spare Parts for Demanding Industrial UseThis page details custom-machined alloy steel spare parts engineered for high-temperature, high-pressure environments. It aligns with the steel selection and heat treatment planning discussed above, offering durable solutions.View Product →
Step 3: Machining the Mold Components
Once the steel is sourced and prepared, the machining phase begins. Large CNC machining centers perform both rough and finish machining on mold base plates, cavity blocks, and core inserts. During rough machining, the goal is to remove material efficiently; finish machining brings the cavity surface close to its final dimensions.
Deep-hole drilling creates the cooling lines that run through the mold, ensuring the plastic solidifies evenly and cycle times remain predictable. Threaded holes, dowel pin locations, and mounting points are all machined to precise coordinates. Any error at this stage multiplies as the mold progresses through later processes, so accuracy is everything.
For complex contours, a five-axis machining center may be used to complete features in a single setup. Modern machining centers also use adaptive toolpath strategies that adjust feed rates based on the material being removed, extending tool life while keeping cycle times efficient. The same discipline applies throughout the metalworking industry; the wide application of CNC technology in high-precision fields has raised the bar for what manufacturers can achieve.
Step 4: Using EDM for Complex Cavities
Not every mold feature can be produced by conventional milling. Sharp internal corners, deep narrow slots, and intricate textures often require electrical discharge machining (EDM). Sinker EDM uses a custom-shaped electrode to erode the workpiece through electrical sparks, producing precise cavities that would be difficult or impossible to create with a rotating cutting tool. Wire EDM, by contrast, cuts through material using a thin, electrically charged wire, ideal for precise profiles and through-holes.
EDM leaves a micro-structure on the steel surface that must typically be removed through subsequent polishing. Although it is slower than conventional machining, EDM provides a level of detail and consistency that makes it indispensable for mold-making.
Step 5: Polishing and Surface Finishing
A mold cavity that appears rough on a microscopic level will transfer that roughness to every molded part. That is why polishing is one of the most patiently executed steps in the entire mold-building process. Technicians work through progressively finer abrasives, starting with coarse stones and moving toward fine diamond compounds.
Some molds require a mirror finish for optical surfaces, while others receive a textured finish to give plastic parts a matte or leather-like appearance. The correct finish is always determined by the requirements of the end product.
Step 6: Assembling the Mold and Running Trials
With all components machined and polished, the mold is assembled. Mold bases, guide pins, bushings, and ejector systems are fitted together, and clearances are checked against the design intent. Once assembled, the mold goes into an injection molding machine for trial runs.
The first shots are examined carefully for short shots, flash, weld lines, and dimensional deviations. Small adjustments to gate depth, venting slots, or cooling flow are often needed, and it can take several iterations before the mold produces parts that fully satisfy the specification. This is also the stage where validation data is collected for customer approval.
Quality Control and Dimensional Verification
Dimensional inspection is essential throughout mold making. Coordinate measuring machines (CMMs) verify that critical features stay within tolerance. Surface profilometers measure finish quality, and hardness testers confirm that heat treatment was carried out correctly. Each mold component remains traceable through documented inspection records, which becomes valuable once the mold enters serial production.
A similar quality mindset applies when manufacturing other industrial components. Whether a customer needs steel machined spare parts or high-precision cast components, the underlying principle remains the same: inspect early, measure often, and document everything. Thermal imaging is sometimes used during trial runs to verify that the mold cools evenly, catching issues that might otherwise surface only after thousands of parts have been produced.
Why Manufacturing Experience Matters
Building a reliable injection mold takes more than blueprints and machines. It takes practical knowledge of how materials behave, how cutting tools wear, and how even small temperature variations can affect the finished part. Manufacturers that have spent years producing precision components for demanding industries understand these subtleties.
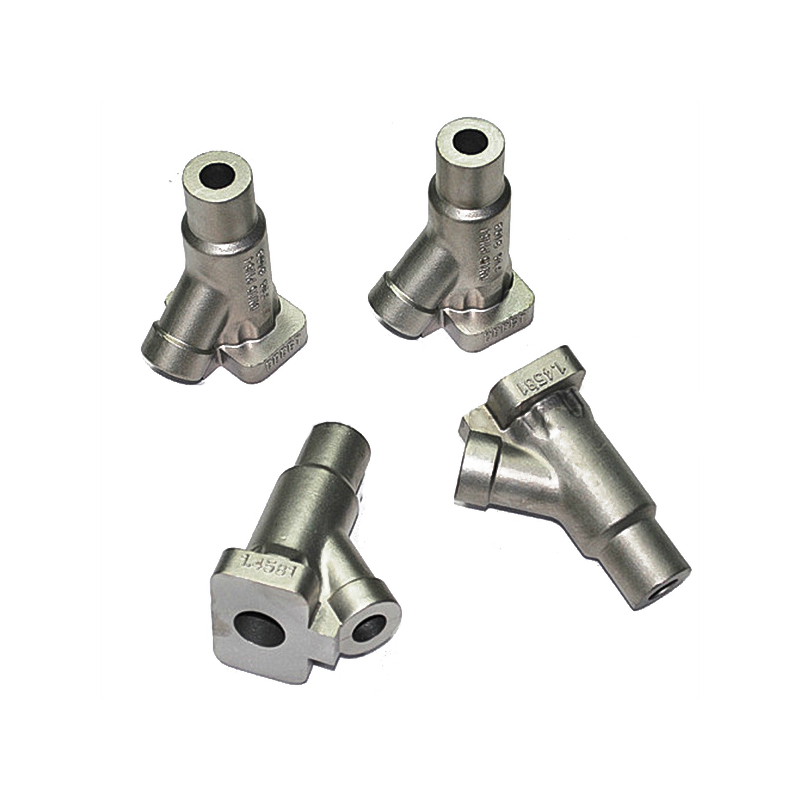
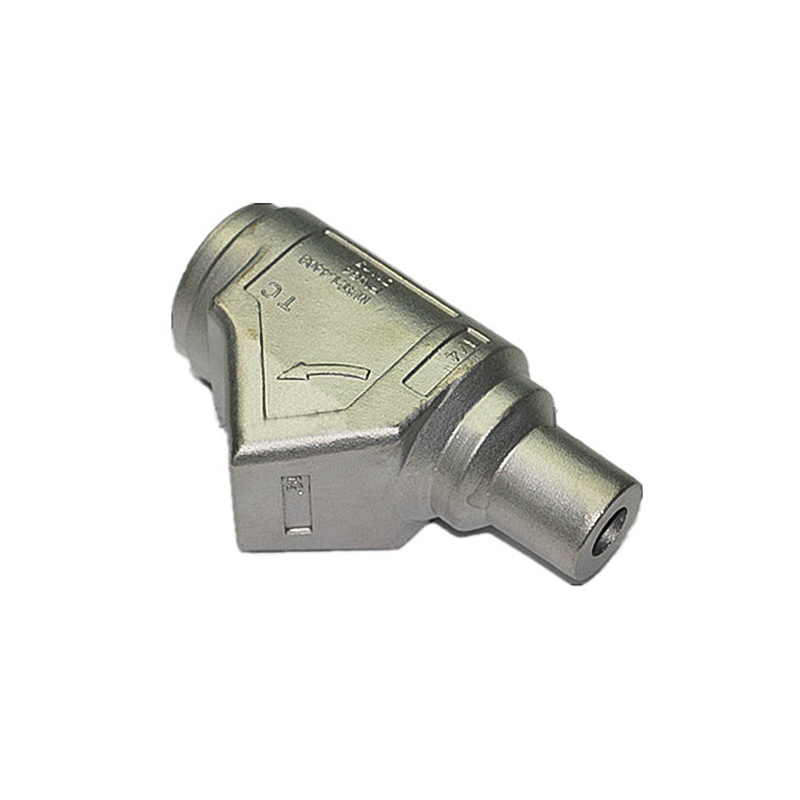
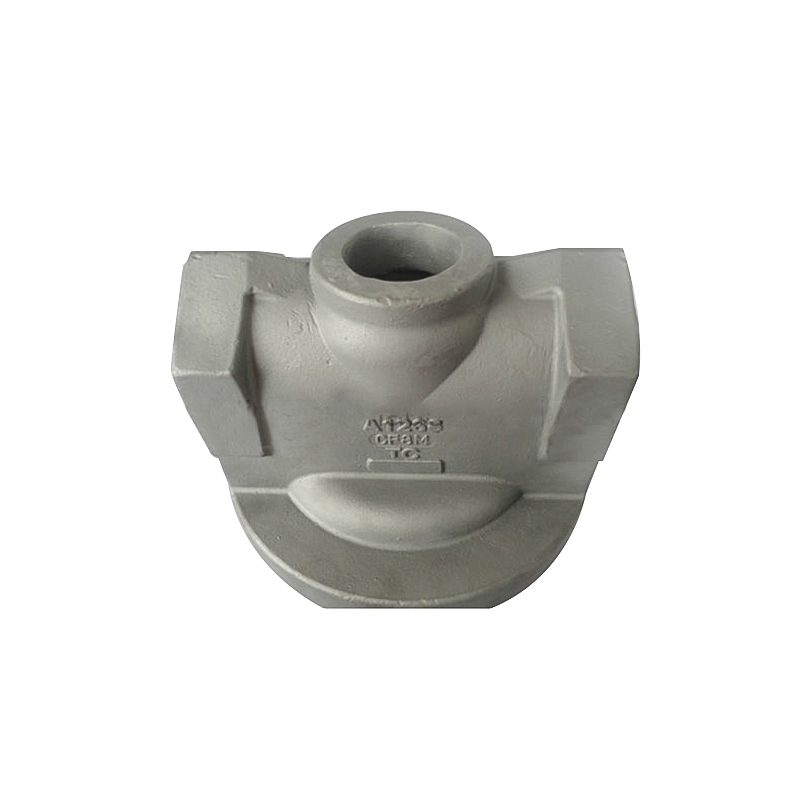
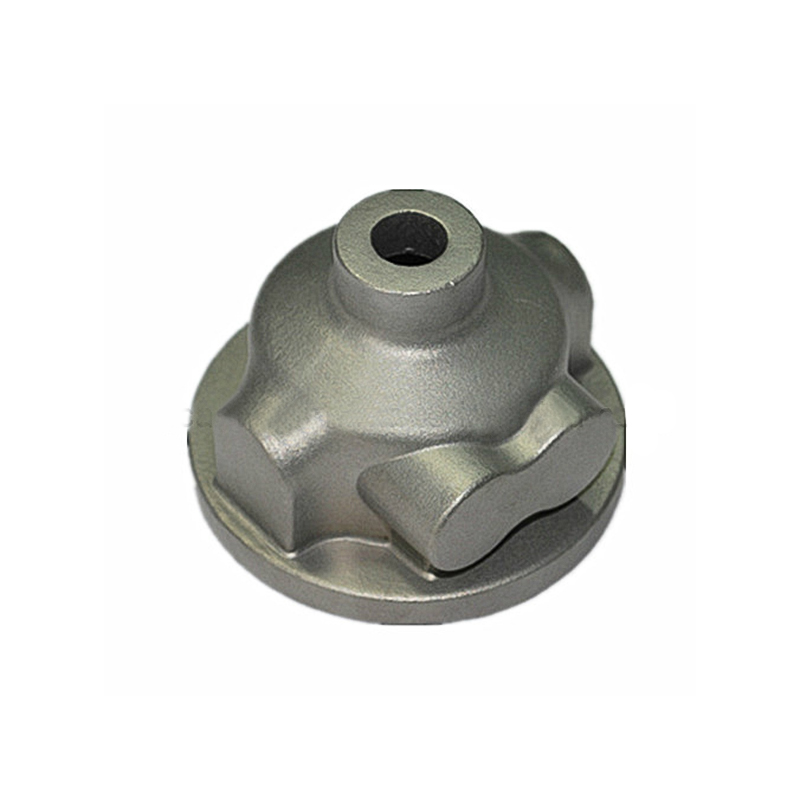
At Ningbo Hansheng Machinery Parts Co., Ltd., we have been working with metal parts since 2003, serving clients in automotive, agricultural machinery, mining, railway, and many other sectors. Although injection molds are not the core focus of our production line, the capabilities we rely on every day — alloy steel processing, precision machining, and rigorous quality assurance — are the same capabilities that mold makers depend on. Our steel investment casting machining parts, for example, demonstrate how combining multiple processes can deliver the accuracy and surface quality that demanding projects require. Mold-making and component manufacturing also share a common dependence on reliable material suppliers; a consistent supply of quality alloy steel prevents unexpected surprises during machining and heat treatment.
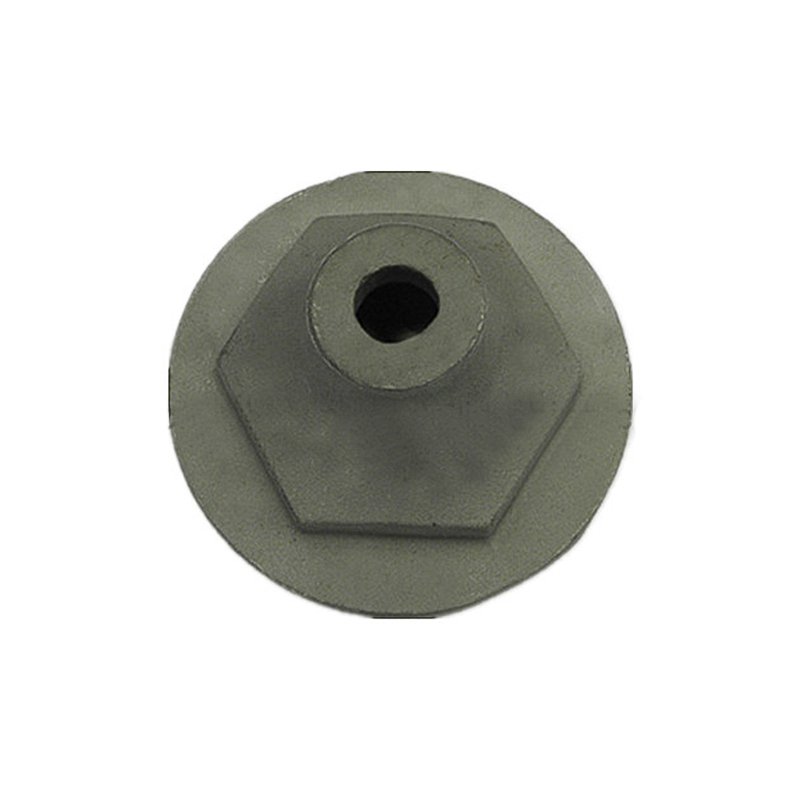
 Steel Investment Casting Machining Parts for Precision ComponentsThese investment-cast steel parts deliver intricate shapes and tight tolerances, complementing the precision machining capabilities highlighted in the context. Ideal for complex custom components.View Product →
Understanding how molds are made for injection molding gives you a clearer picture of what goes into every plastic product you see. From the initial CAD model to the final trial shot, the process demands engineering knowledge, skilled craftsmanship, and meticulous quality control. If you are planning a new product and need a partner who truly understands precision manufacturing, we would be glad to discuss how our experience can support your project.
Selected Bearing Display

Contact Information
- Tel:+86-574-88067800/88067900
- Fax:+86-574-88067400
- Phone:+86-13967874638
- E-Mail:master@nbyifei.com
Products Links
Products Links
- Agricultural Machinery Casting Parts
- Auto Casting Parts
- Brass Die Casting Parts
- Casting Bucket Tooth And Accessory
- Container Casting Parts
- Investment Casting Parts
- Machinery Casting Parts
- Mining Machinery Casting Parts
- Railway And Train Casting Parts
- Sand Casting Parts
- Stamping & Forging Parts
- Valve Casting Parts
Contact Us
Copyright ©
Ningbo Hansheng Machinery Parts Co.,Ltd. All Rights Reserved
 Custom Die Castings Manufacturers
